Last time I used a script to create multiple containers simultaneously. Although it works, let’s say it’s not the best option.
Kubernetes is the optimal choice for tasks like these due to its ability to orchestrate multiple containers, scale them, balance the load among nodes when required, and ensure container availability.
For this reason, I have decided to perform a small deployment of 6 pods that perform the same function as the containers in the previous attempt. To create multiple Archive Warriors to assist with the Archive Team’s objective. If you want to learn more about this, I encourage you to read my previous article where I discuss this in greater depth.
To make this possible, a cluster with one or more nodes must be created. In this case, I’ll use minikube, a very simple tool that will automatically allow us to create such a cluster.
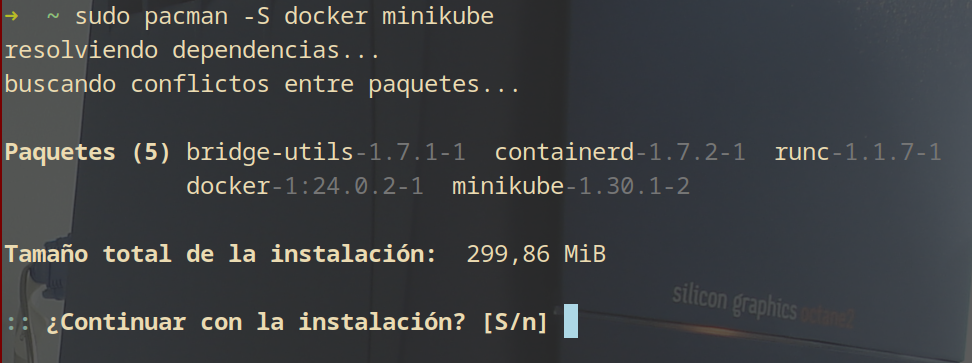
There are multiple ways to install minikube, in my case I’ve used the packages provided by the official Arch Linux repositories. It is also necessary to have Docker or a hypervisor like QEMU installed, as suggested by the minikube documentation.
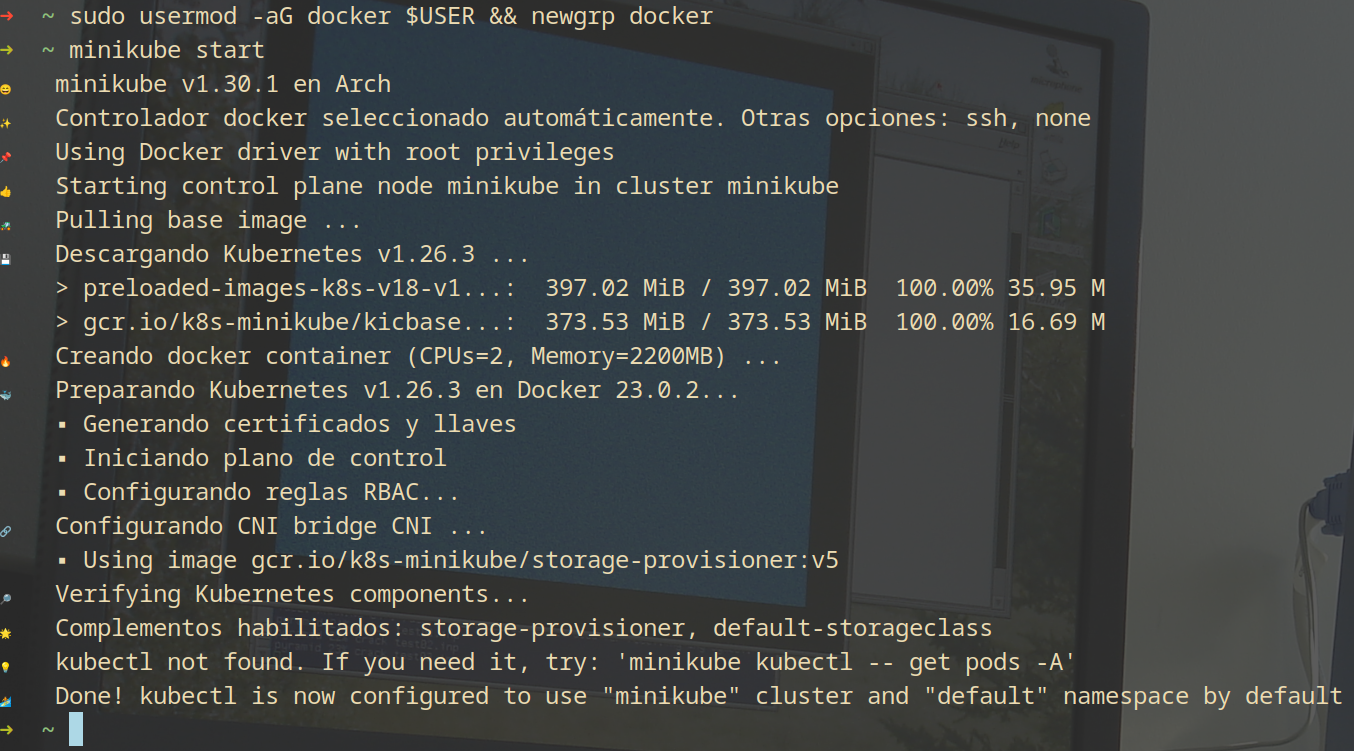
To start the cluster with minikube just run the minikube start command. In the case of using Docker on Linux, ensure your user belongs to the docker group before starting the Docker service.
To interact with Kubernetes I’ll use kubectl, which I’ve assigned the alias k on my machine. Depending on the distribution or operating system used, it may be necessary to install kubectl separately.
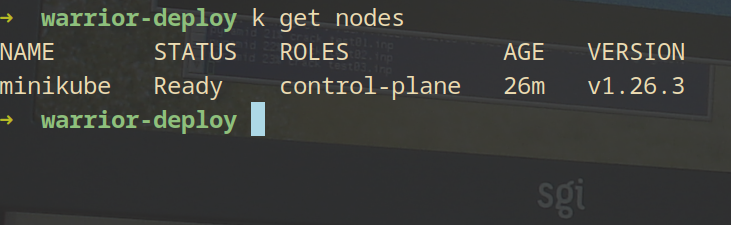
To view the node minikube has just created, use the kubectl get nodes command.
Now that everything is in check, let’s move on to the important bit, the deployment.
apiVersion: apps/v1 kind: Deployment metadata: name: archiveteam-deployment spec: replicas: 6 selector: matchLabels: app: archiveteam template: metadata: labels: app: archiveteam spec: containers: - name: archiveteam-container image: atdr.meo.ws/archiveteam/warrior-dockerfile:latest env: - name: DOWNLOADER value: "Pico" - name: SELECTED_PROJECT value: "reddit" - name: CONCURRENT_ITEMS value: "6"
This is a very simple deployment making use of 6 pods. The same docker image and environment variables as last time have been used.
To perform the deployment, save the code in a text file using the YAML format and run it by executing the kubectl apply -f command.

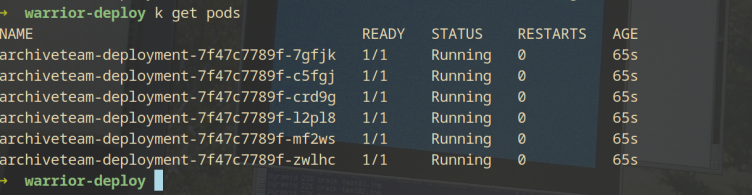
It seems like the deployment has proceeded without any issues so far. The containers are being created and in the process of being executed. We can verify this with the kubectl get pods command.
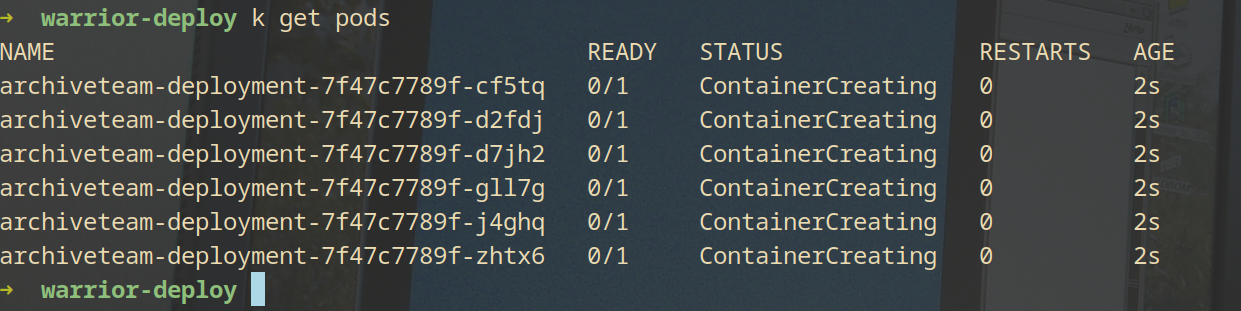
If you quickly execute the kubectl get pods command you can see how the containers are not fully created yet, just give them a moment.
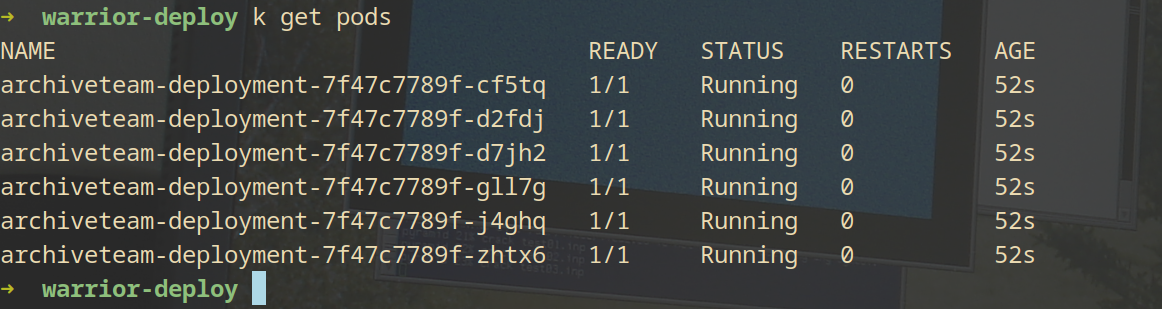
After waiting for a few seconds and checking the pod status again, it can be seen how these are running and ready. Excellent!
If my memory serves me right, these containers had some kind of dashboard where it was possible to visualize the tasks these perform in real time. AFAIK there’s no way to access them directly as I’ve done in the past. Because of the architecture of Kubernetes, the pods run in a different network.
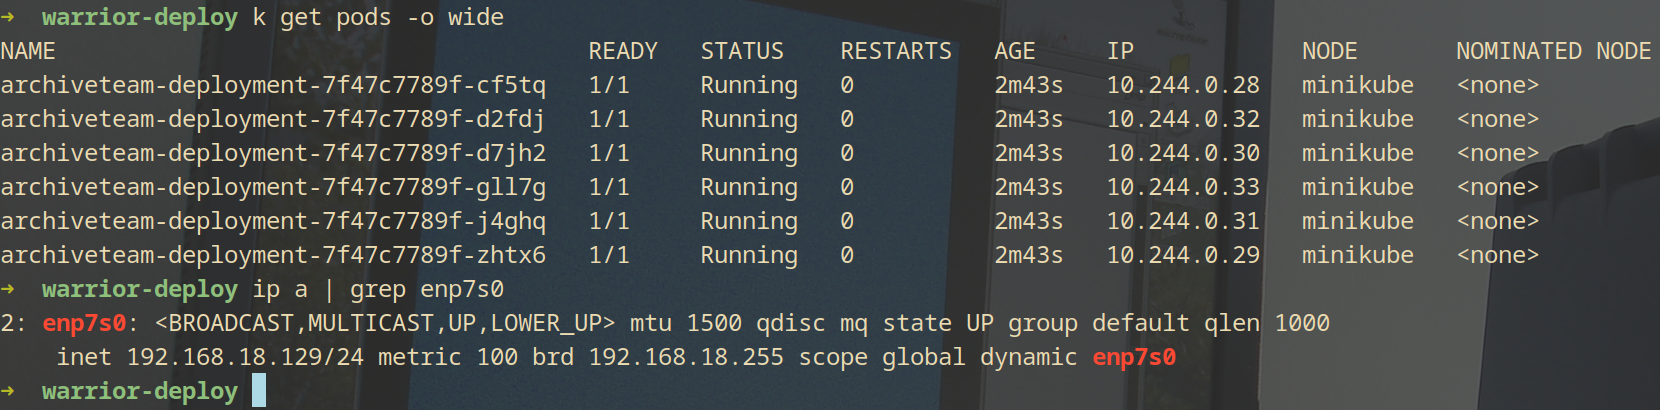
The pods are in the 10.244.0.0 network while my computer is in the 192.168.18.0 network.
A simple way to solve this problem is to forward the port the container uses for the control panel to an unused port on the host machine.
For instance, if the container uses the port 8001 for the dashboard and we want to access it, simply execute this command: kubectl port-forward archiveteam-deployment-7f47c7789f-cf5tq 8001:8001
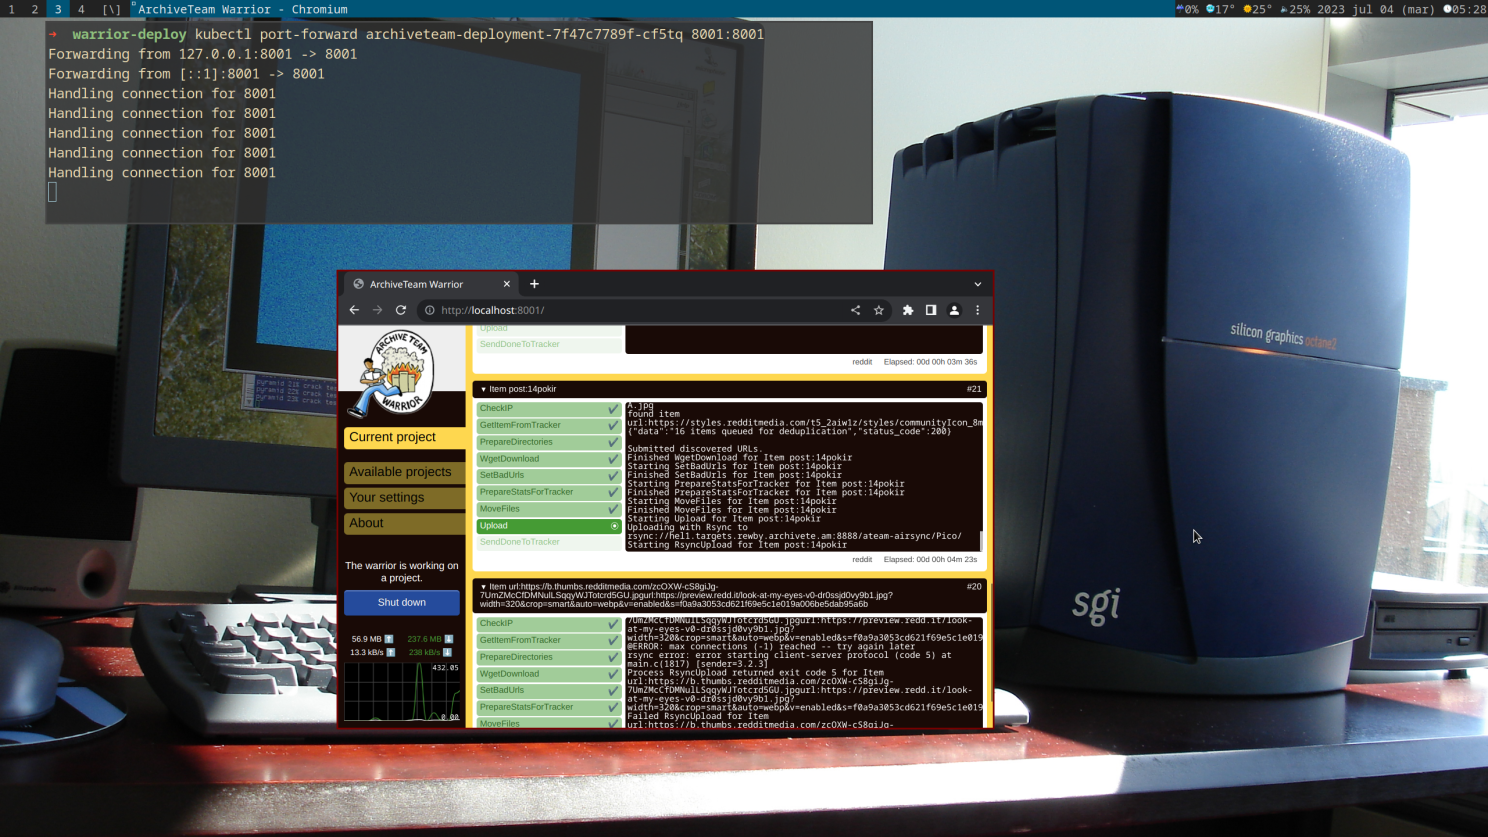
Now it can be seen how that poor warrior is doing it’s best.
As you can see creating a deployment with Kubernetes is quite straightforward and very useful. It can even be used for doing good deeds!